


How to Use Stitch Markers
Stitch markers are the unsung heroes of the crochet world. These tiny tools act like bookmarks for your yarn, helping you track rounds, counts, and special stitches with ease. Whether you're new to crochet or ready to take on more complex patterns, learning how to use stitch markers in crochet will make your projects smoother and more enjoyable.
At Okey Dokeys, we’re all about making crochet easy and fun—and stitch markers are one of our favorite hacks to keep things on track!
What Are Crochet Stitch Markers?
Crochet stitch markers are small, attachable tools that help you mark important points in your work. You’ll find them in a variety of shapes—some look like safety pins, while others are simple rings. They can be made of plastic, metal, or even yarn. No matter the type, they all serve the same helpful purpose: keeping you organized as you crochet.
If you’ve ever searched "how to use stitch markers crochet" or "how to use crochet stitch markers," you’re not alone—these handy tools can be game-changers for your projects.
When to Use Stitch Markers
Not sure when to grab a stitch marker? Here are a few common scenarios:
Marking the Beginning of a Round
When you're crocheting in the round (like for amigurumi or hats), it’s easy to lose your place. Use a stitch marker to mark the first stitch of each round so you always know where to begin the next one.
Counting Stitches in Long Rows
If your pattern requires a lot of stitches in a row, add a marker every 10, 20, or 50 stitches to make counting faster and more accurate.
Tracking Special Stitches
Some patterns call for specific stitches in exact places. A stitch marker lets you mark where those special stitches should go—so you don’t have to keep re-reading the pattern.
How to Use Stitch Markers in Crochet
Learning how to use stitch markers in crochet is simple. Here’s a quick walkthrough:
-
Insert the Stitch Marker
After completing a stitch, insert the marker into that stitch or into the loop on your hook. If you're marking the beginning of a round, place the marker in the very first stitch of that round. -
Move It Along
If you're working in the round, be sure to move your stitch marker up to the first stitch of each new round as you go. -
Remove Before Crocheting the Marked Stitch
When you reach the stitch with the marker, remove it before working the stitch. This keeps your stitches clean and the marker intact.
So if you’ve been wondering how to use a stitch marker or have searched “stitch markers for crochet how to use,” now you’ve got the answers.
Okey Dokeys Tips for Stitch Marker Success

Use Color Coding
If you're using multiple stitch markers, choose different colors to keep track of different things. For example:
-
Green for the beginning of a round
-
Pink for a decrease
-
Blue for stitch counts
No Marker? No Problem!
You can use safety pins, bobby pins, paper clips, or even a small piece of contrasting yarn if you don’t have official markers on hand.
Don’t Pull Too Tight
Leave a little slack so your stitch marker doesn’t stretch or distort your work. You want it to be easy to remove when it’s time.
Practice Makes Perfect
If you’re just getting started, using stitch markers might feel like an extra step—but trust us, it’s a step worth taking! They’ll help you avoid mistakes, save time, and keep your crochet patterns flowing smoothly. Before you know it, you’ll be reaching for them instinctively as part of your regular crochet routine.
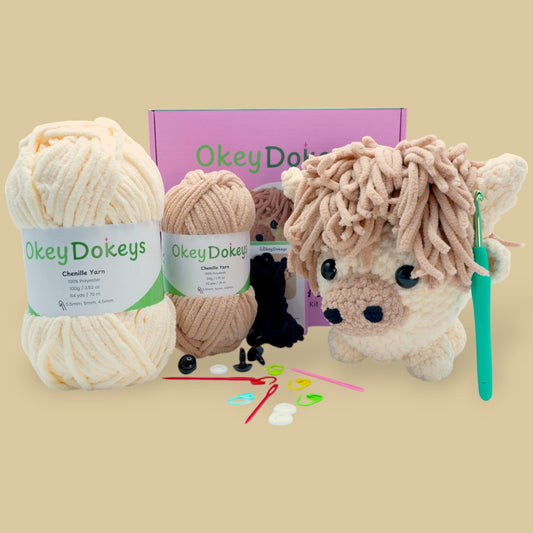
Want to try a project where stitch markers really shine? Check out one of our crochet kits! Each kit includes stitch markers, so you can practice while creating something super cute!